Product features Combined probe STHPV - Modbus RS485
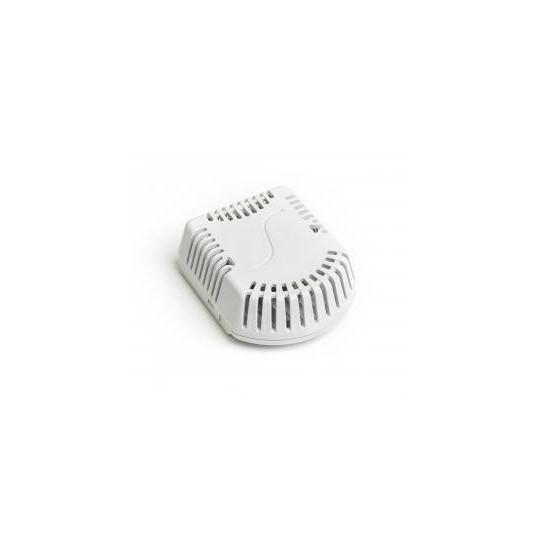
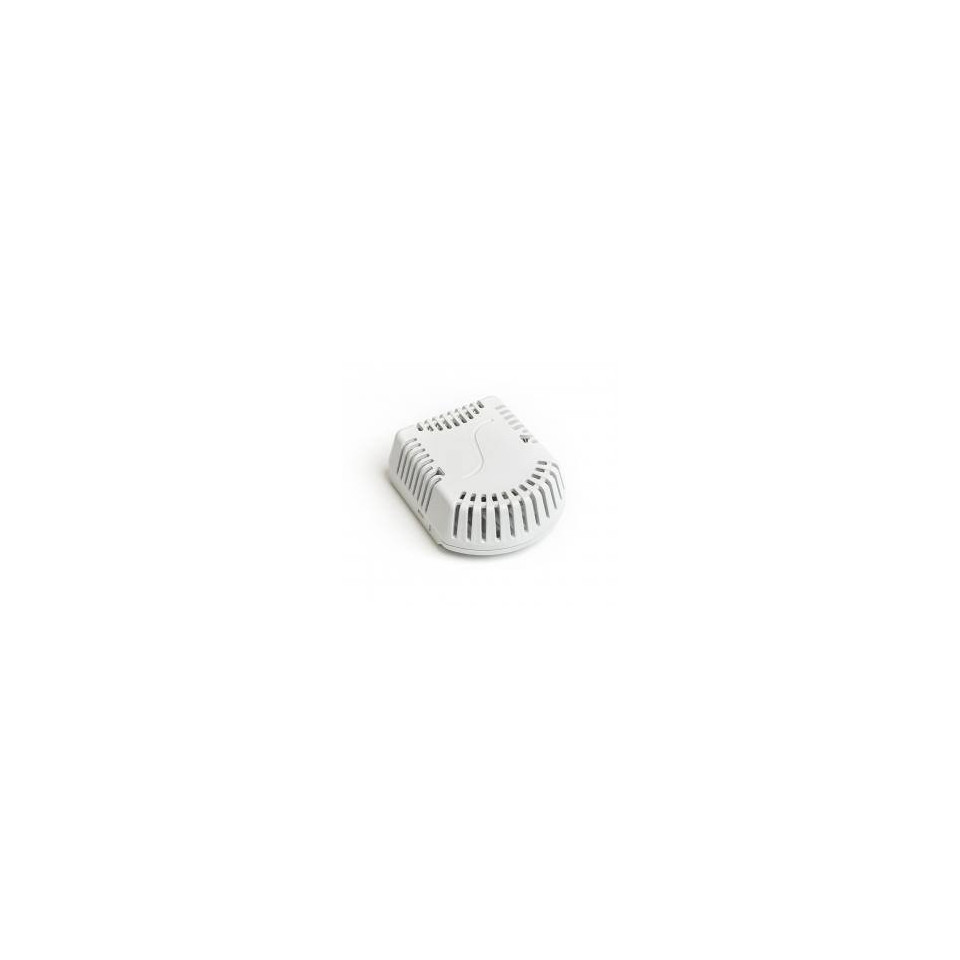
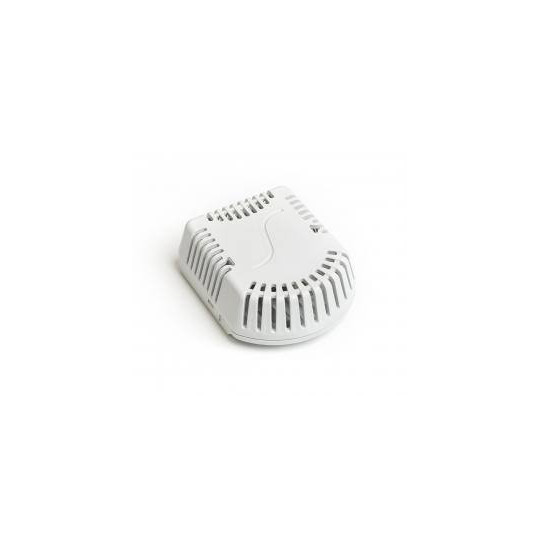
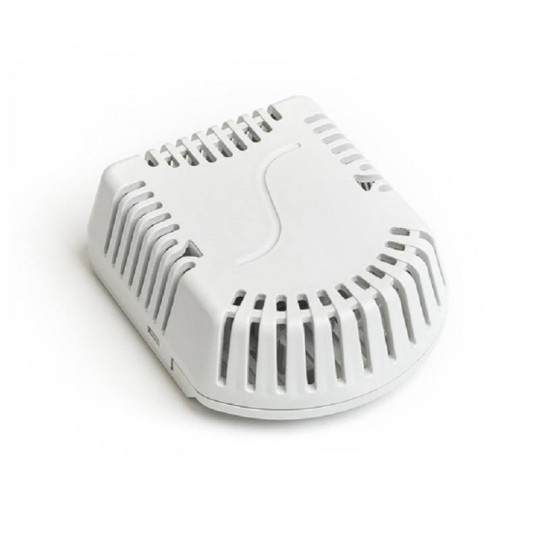
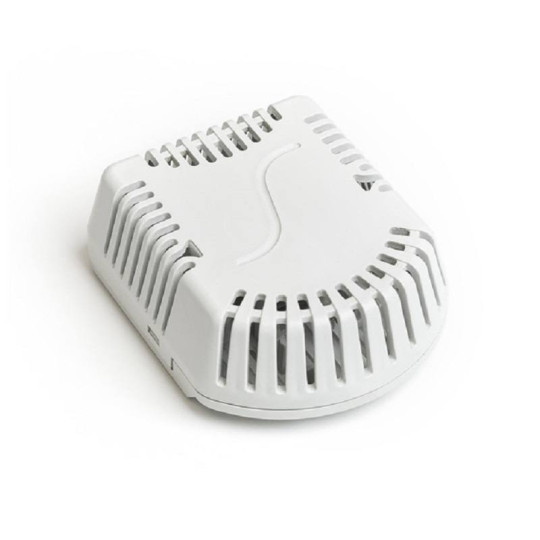
 Combined temperature, relative humidity, atmospheric pressure and VOC sensor - STHPV 102 consists of a plastic head with grooves in which there is a printed circuit board with individual sensors and transmitter to ensure communication via the RS 485 bus. Temperature, relative humidity, atmospheric pressure and VOC are measured by a common internal sensor whose signal is processed in the microprocessor and converted into a MODBUS RTU output signal. The temperature, relative humidity, atmospheric pressure and VOC sensor - STHPV 102 complies with protection class IP 30 according to the modified standard EN 60529. Pleasant design and quality materials guarantee temperature, relative humidity, atmospheric pressure and VOC sensor - STHPV 102 it does not interfere even in interiors subject to high aesthetic requirements. The sensors de recommended temperature, relative humidity, atmospheric pressure and VOCs are located at a height of 1,5 m on the interior wall, in the area of movement of people, away from sunny places and places affected by the temperature of the walls, heat sources or lighting.The temperature, relative humidity, atmospheric pressure and VOC sensor - STHPV 102 is designed to operate in a chemically non-aggressive environment. The method of use should be selected based on the temperature and chemical resistance of the sensor head and the individual sensors. The operating conditions to ensure the proper functioning of the sensor are:
- Temperature around the sensor: -30 to 70 ° C, briefly -40 to 80 ° C
- relative humidity: 0 to 95% (non-condensing)
- atmospheric pressure: 87 to 110 kPa
| Sensor type | STHPV 102 |
| Temperature measurement range * | - 30 to 70 ° C -40 to 80 ° C in the short term |
| Temperature measurement accuracy * | ± 0,5 ° C at 25 ° C ± 1,0 ° C in the range of 0 to 65 ° C |
| Relative humidity measurement range * | 0 to 95% |
| Relative humidity measurement accuracy * | ± 3% between 20 and 80% ± 4,5% between 0 and 19% and 81 to 95% |
| VOC measurement range (IAQ index) * | 0 to 500 |
| VOC measurement accuracy * | ± 15% |
| Measuring range of atmospheric pressure * | 300 to 1100 hPa |
| Measurement accuracy of atmospheric pressure * (in the temperature range from 0 to 65 ° C, in the range from 300 to 1100 hPa) |
absolute deviation: ± 0,12 hPa long-term temperature stability: ± 1,0 hPa |
| Measurement accuracy of atmospheric pressure * (temperature range 25 to 40 ° C, range 700 to 1100 hPa) |
absolute deviation: ± 0,12 hPa |
| Output signal | RS485 / MODBUS RTU |
| Supply voltage | 15 to 30 V DC |
| Nominal supply voltage U n | 24 V DC |
| The consumption | max: 500mW typical: 250 mW |
| Degree of protection | IP 30 according to EN 60529, as modified |
| Head dimensions | 71,9 x 59 x 27 mm |
| Head material | lexan |
| Hmostnost | min 35g |
Note: The manufacturer reserves the right to modify the design and technical characteristics of the products.
SENSOR INSTALLATION AND MAINTENANCE
The sensors are designed to be mounted on a wall or other vertical surface. For fixing, it is necessary to prepare the required holes for mounting screws using a template (supplied with the sensor).
Before connecting the power cable, it is necessary to separate the perforated cover from the plastic base. Remove the cover and insert the cable through the 9 mm hole, apply the base to the surface and screw with two screws or bolts. The length of the bolts or fixing screws for fixing should be chosen according to the thickness of the plastic base. Connect the power cable to the terminals in accordance with the “Wiring” section. Diagram: place the perforated cover on the fixed base and lock it by clicking on it. After installation and connection to the electrical measuring device, the sensor is ready for use. The sensor does not require any particular maintenance.
These products can interest you

STHC - Modbus RS485 combined probe
Combined STHC probe - CAN protocol
STHCPV Combined Probe - CAN
